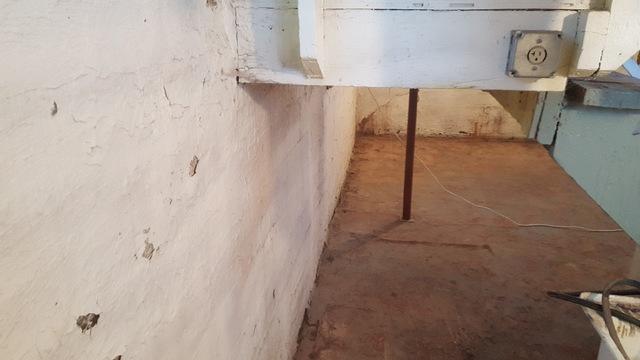
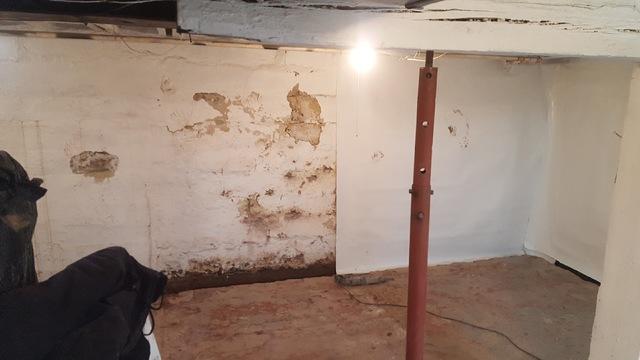
Before
Basement before any work has been done. discolored walls caused by water damage
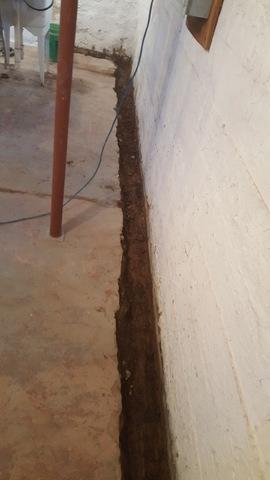
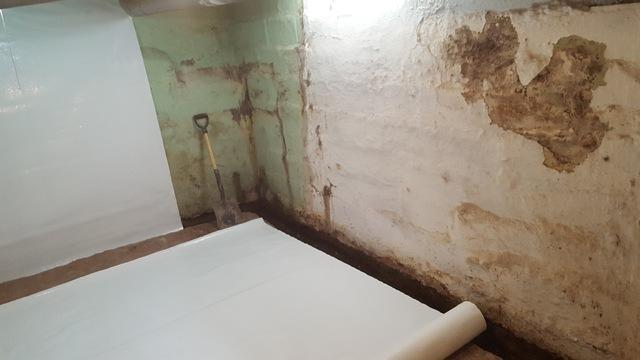
Trench
This is the trench where the WaterGuard will be installed around the perimeter of the basement
Walls
These walls would take hours to scrape and re-paint
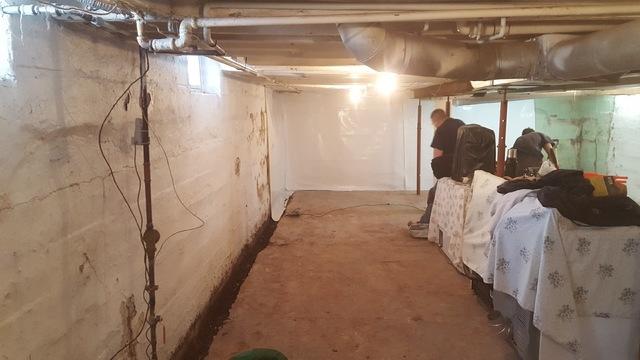
Perimeter
The trench around the perimeter of the basement is dug and the CleanSpace wall system is going on walls
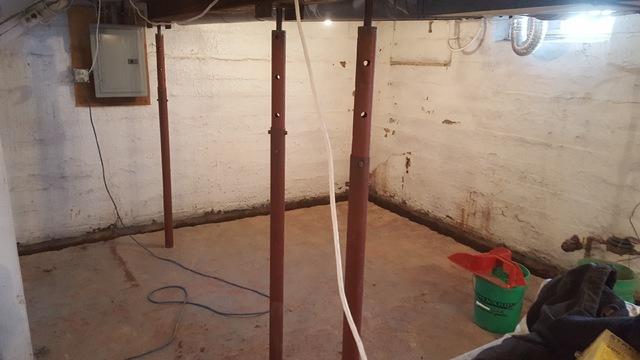
Paint
These walls are in much need of refinishing. Thank goodness for CleanSpace
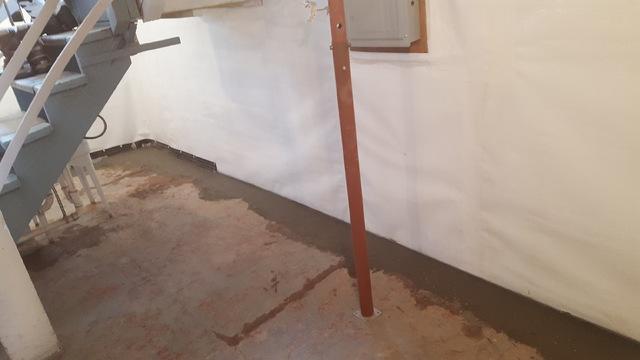
Attatching
The CleanSpace Wall system is attatched at the top of the wall to the rim joists at the bottom it is run into the WaterGuard trench
CleanSpace Wall System
The wall covering forces all wall seepage and moisture to flow into your perimeter drain system. The white poly surface eliminates the need to paint basement walls, providing a bright, stain-resistant finish that never needs repainting or maintenance.
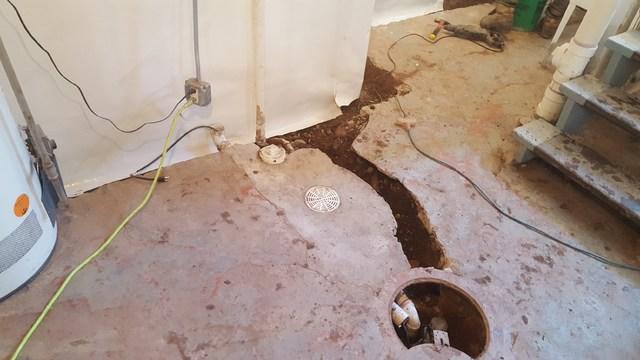
Water Route
This is where the water caught by the WaterGuard flows into the Sump System to be pumped out of basement
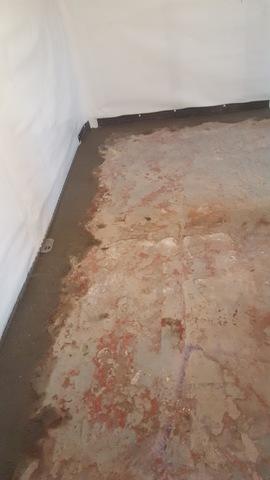
Recovering
Cement is the last step of the installation
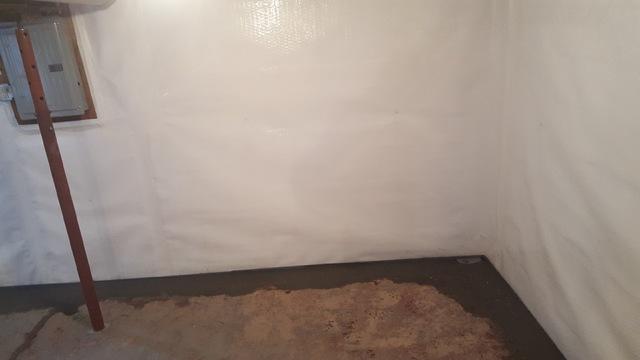
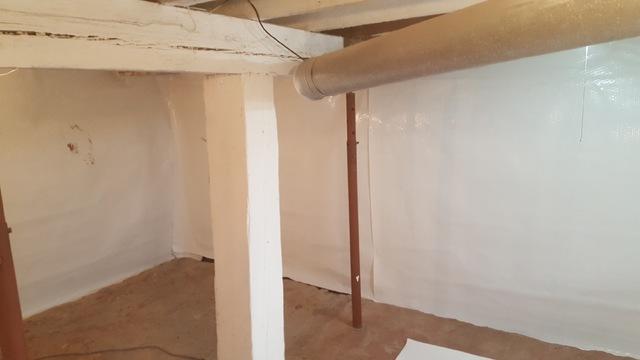
Finished
The CleanSpace is up, the WaterGuard is in place, all is good
Port
This is a port to the WaterGuard system just in case it needs to be serviced in the future
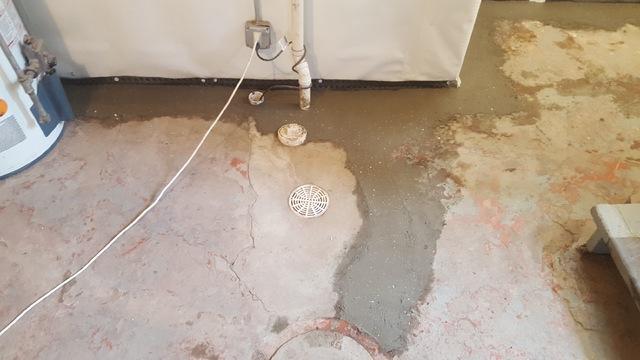
Sump
Sump is working and ready to pump all the incoming water out of the basement