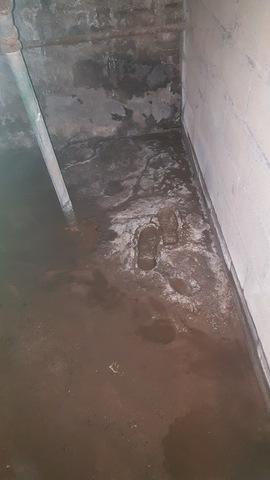
foot prints left in the mud
The conditions in this basement were horrible not only was there standing water there was also mud on the floor
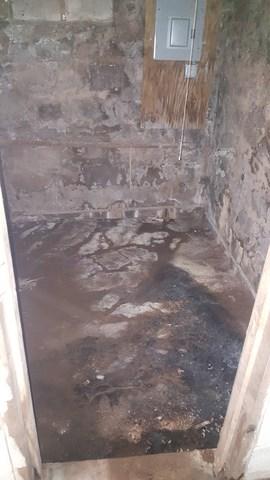
years of water damage
This photo shows the years of water damage that this basement has endured.
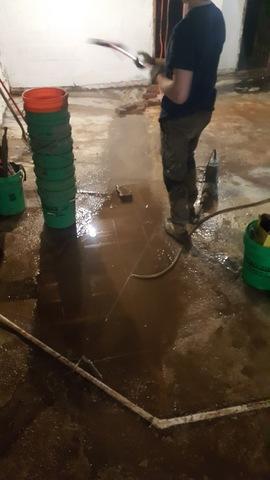
standing water
shows the standing water in the middle of the basement floor.
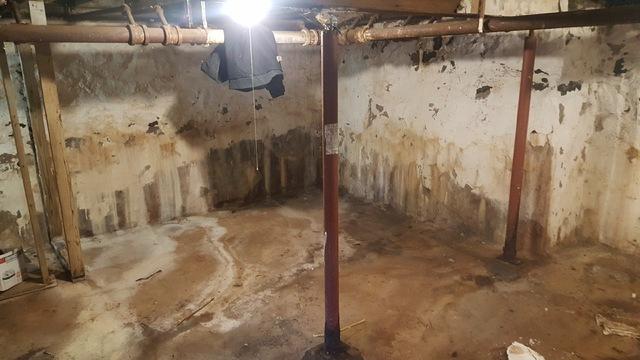
water marks
Notice the white marks on the floor and walls. This is from the minerals that the water has left behind after it has evaporated.
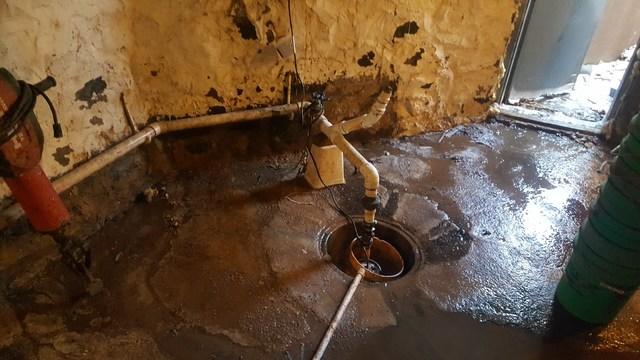
The old sump system
The old sump system that was not doing a proper job at removing water
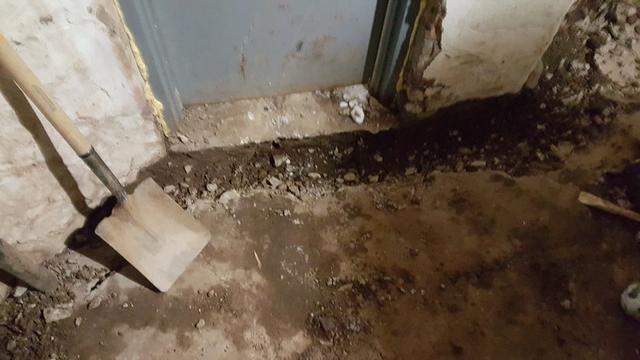
Door in Need
This doorway is a perfect location for a trench drain
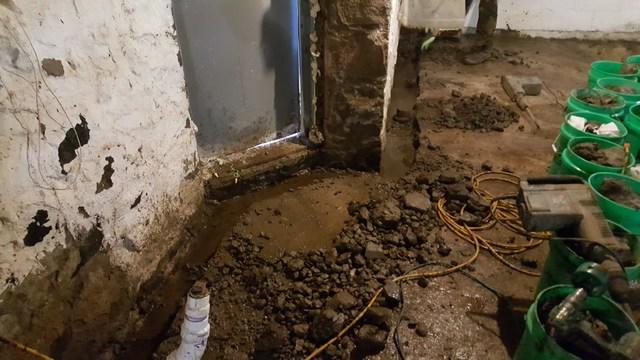
Jackhammering
The beginning of floor removal to install the WaterGuard and CleanSpace systems
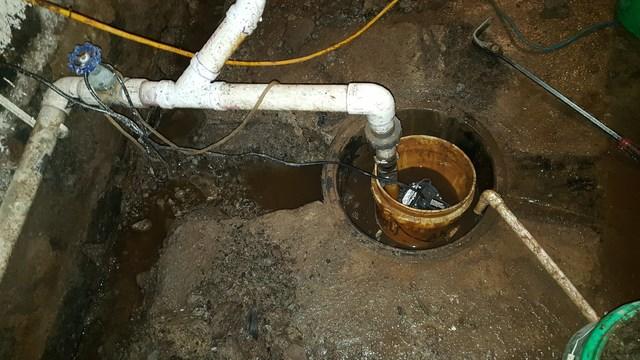
pathway to sump
jackhammering a path to sump system
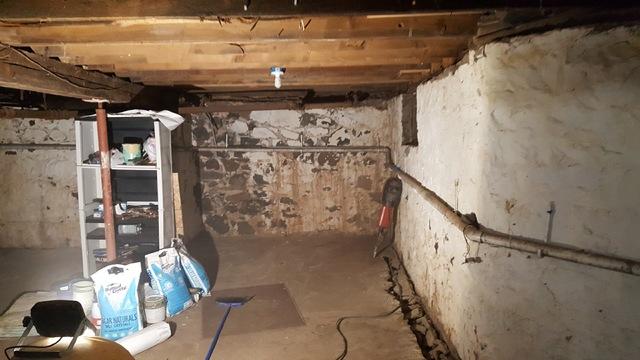
jackhammering
We jackhammer the perimeter of the wall
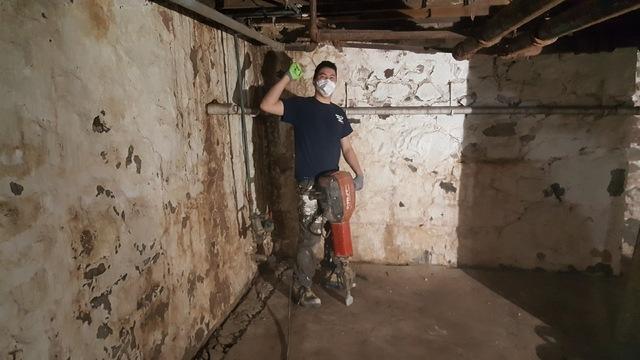
Work is fun
Our foreman Chim showing off his jackhammer
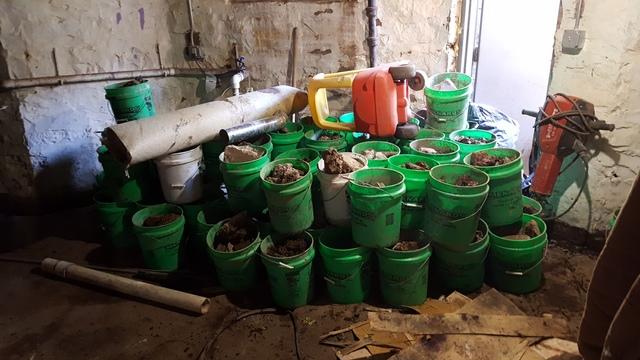
Rubble Garbage
Buckets of debris removed from the basement after jackhammering the perimeter of the floor away.
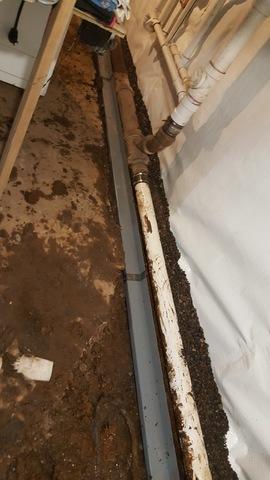
installation of WaterGuard
The WaterGuard is essentially a gutter that works beneath the floor to ensure the water travels to a specific location in this case a sump system
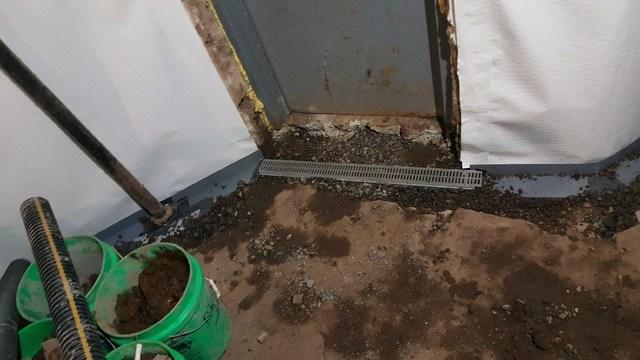
Trench Drain
The trench drain placed in the doorway to catch any water that may come from under the door.
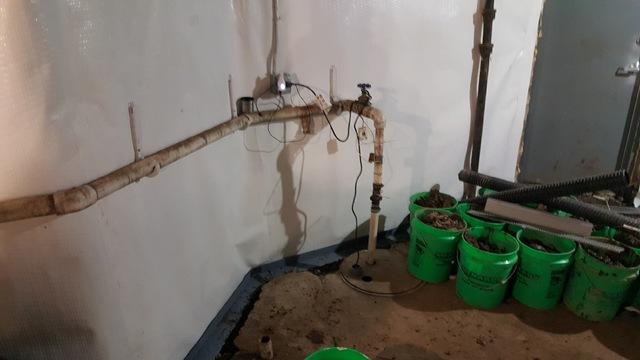
CleanSpace and WaterGuard
Both the CleanSpace and the WaterGuard in place
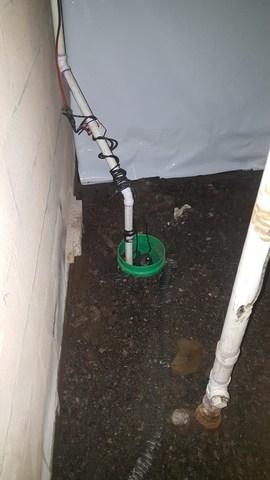
New sump
The new sump system being put in place
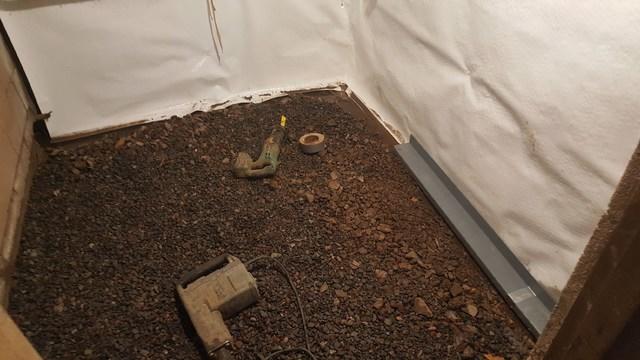
Dividing Wall
Notice the dividing wall to the condos on the left hand side that we placed the WaterGuard through
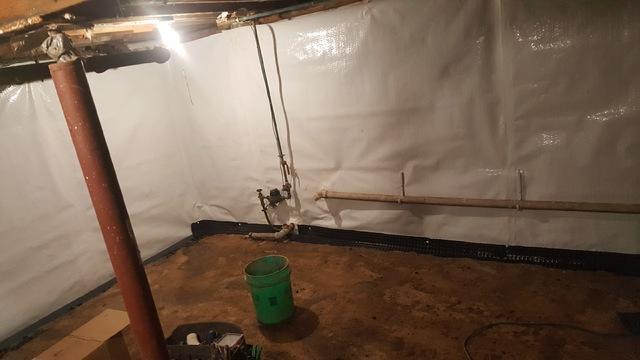
CleanSpace
CleanSpace is placed behind all the pipes on wall
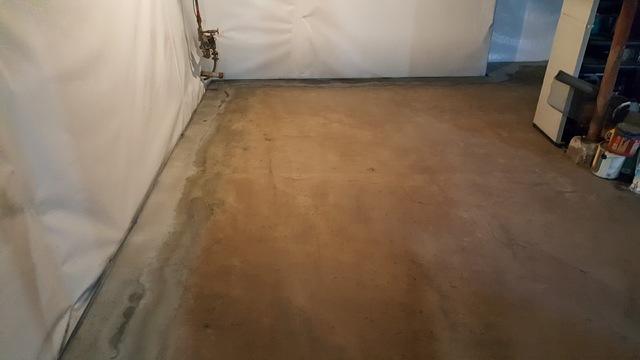
Finished
All of the products are in place and the floor is recemented
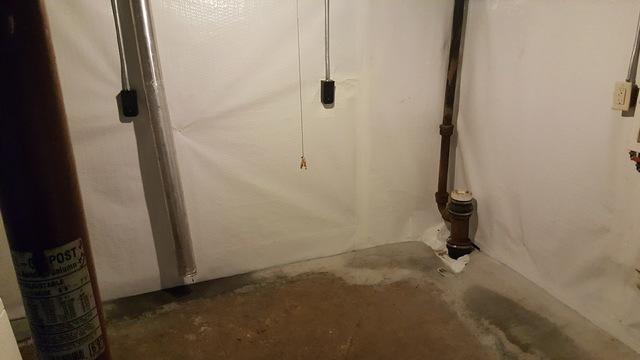
Finished
This basement has undergone such a transformation
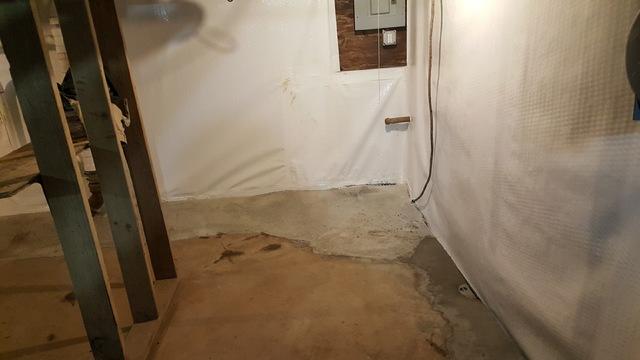
Finished
The walls are so bright and clean-looking
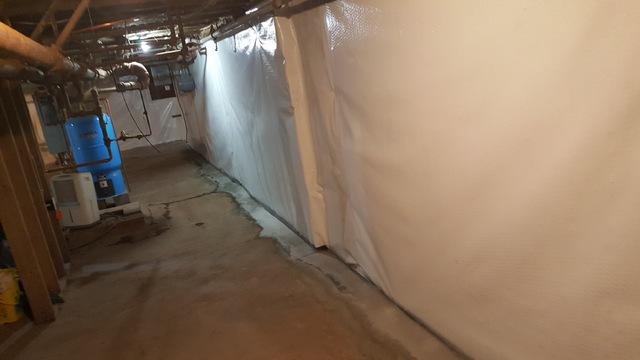
Finished
A view of the finished product along the length of the wall
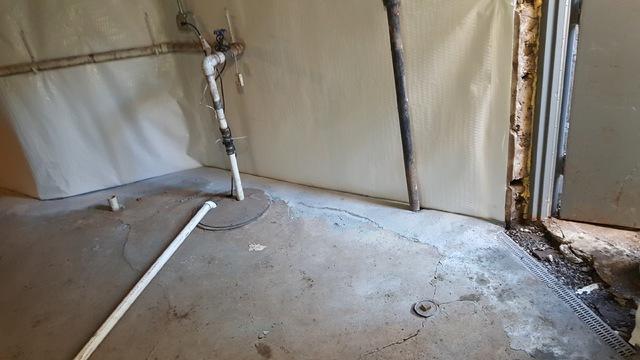
Finished
the trench drain is in place ready to do it's job and the sump is in working order
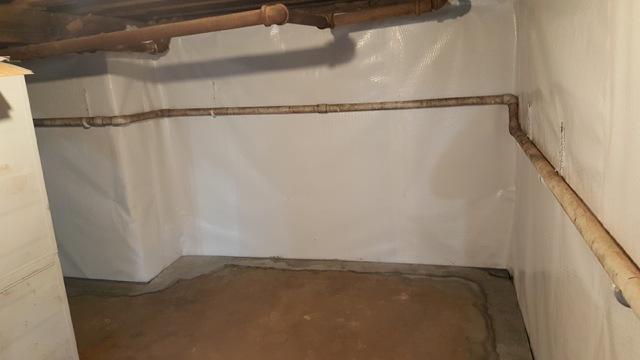
Finished
The crew has no problem making sure the CleanSpace is flush with the wall even on the sharpest of angles in the corners of walls
